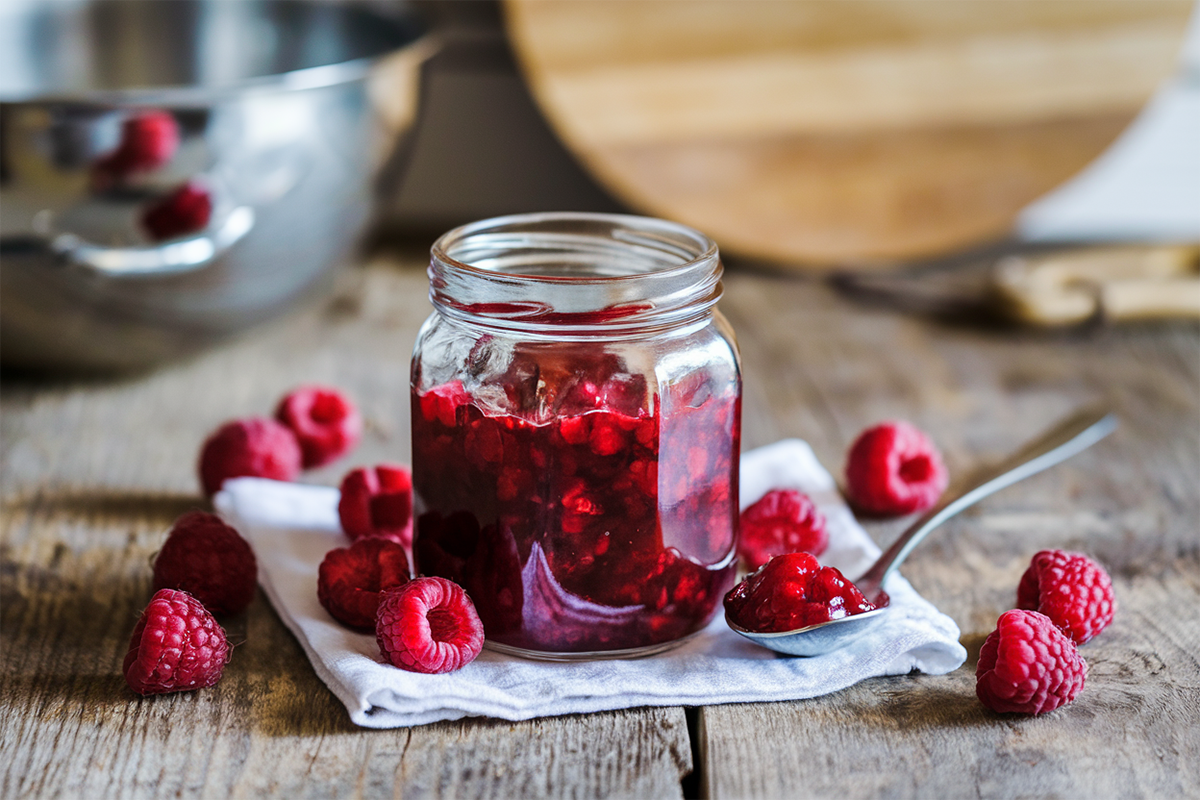
I still remember the first time I made raspberry jam from scratch. My grandmother stood beside me in her small Georgia kitchen, guiding my hands as I stirred a bubbling pot of fresh raspberries and sugar. That memory lives in every jar I make today. If you have never tried making raspberry jam at home, I want you to know it is one of the most rewarding things you can do in your kitchen. It takes simple ingredients, basic tools, and about an hour of your time. The result is a bright, fruity spread that tastes nothing like anything from a store shelf.
This recipe works for every skill level. Whether you are a seasoned home cook or you are trying your first homemade preserve, you will find this approachable and fun. I love sharing this recipe because it brings people together. You can make it with your kids, your sister, or your best friend on a slow Sunday morning. Feel free to adjust the sweetness, skip the pectin, or add your own twist. Cooking should feel like yours.
Why This Raspberry Jam Recipe Is Worth Making
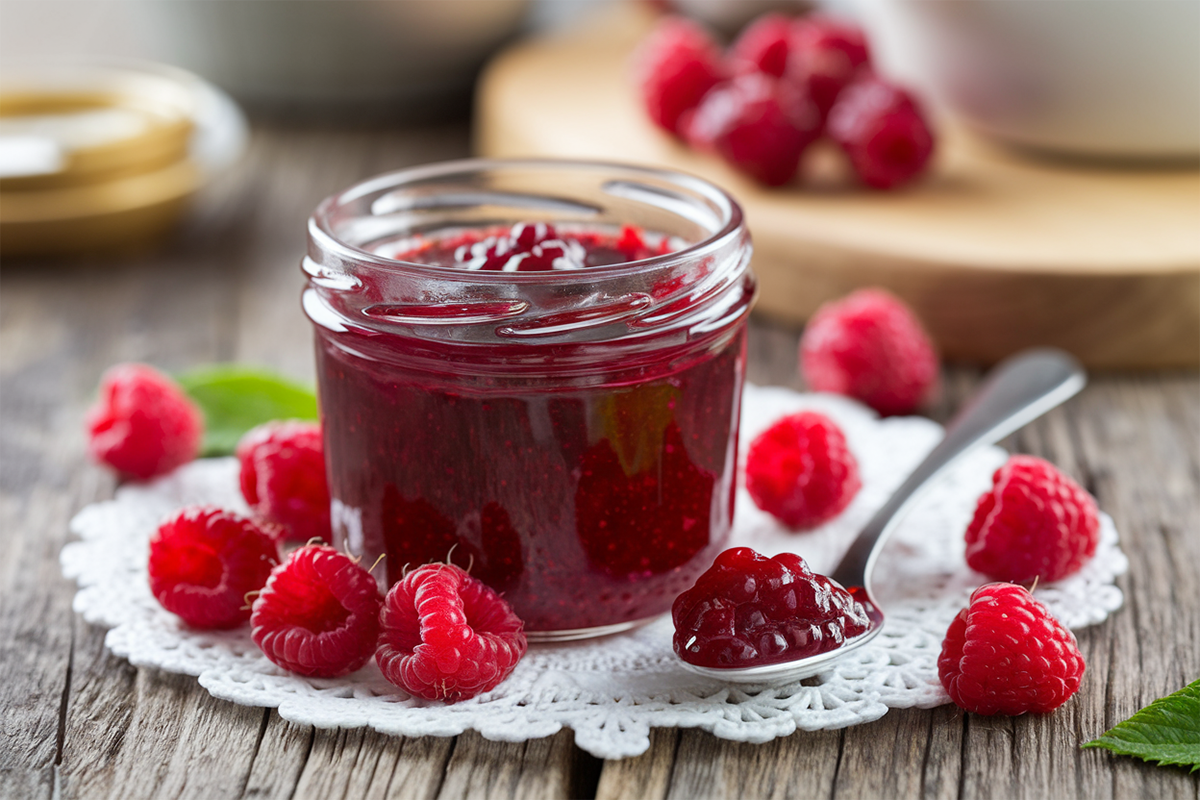
Homemade raspberry jam brings something to the table that store-bought versions simply cannot match. The flavor is brighter, fresher, and more intense. When you make it yourself, you control every ingredient. No artificial preservatives, no corn syrup, no mystery additives. Just raspberries, sugar, and a squeeze of lemon. The texture is thick but spreadable, with tiny fruit pieces that melt into your toast or biscuit in the best way possible.
Raspberry jam also offers real nutritional value. Raspberries are rich in vitamin C, fiber, and antioxidants. According to the classic old-fashioned raspberry jam approach from Epicurious, keeping the ingredient list short lets the natural fruit flavor shine through. This recipe skips commercial pectin entirely, relying on the natural pectin in raspberries and the acidity of lemon juice to get that perfect gel. It is clean, simple, and absolutely delicious.
This homemade raspberry jam is perfect for spreading on toast or incorporating into desserts, much like the fruit flavors in our strawberry cake mix cookies.
Ingredients for Homemade Raspberry Jam
You only need a few pantry staples to make raspberry jam at home. Each ingredient plays a specific role in building that perfect flavor and texture.
- Fresh raspberries — The star of the recipe. Use ripe, plump berries for the deepest flavor. Frozen raspberries work too if fresh are out of season.
- Granulated white sugar — Sweetens the jam and acts as a natural preservative. The ratio of sugar to fruit affects both sweetness and shelf life.
- Fresh lemon juice — Adds brightness and helps activate the natural pectin in the raspberries for a better set.
- Lemon zest (optional) — Adds a subtle citrus note that makes the raspberry jam taste even more vibrant.
That is all you need. No pectin packets, no special preservatives. The simplicity of this raspberry jam is part of what makes it so satisfying to prepare.
Tools Needed
You do not need a full canning setup to make a small batch of raspberry jam. Here is what to have ready before you start:
- Large heavy-bottomed saucepan — Distributes heat evenly and prevents scorching.
- Wooden spoon or silicone spatula — For stirring the jam as it cooks.
- Fine mesh strainer or potato masher — Use a masher for a chunky jam or a strainer for a smoother texture.
- Candy or instant-read thermometer — Helps you confirm the jam has reached the setting point.
- Clean glass jars with lids — Sterilized mason jars work best for storage.
- Ladle and wide-mouth funnel — Makes filling jars clean and easy.
- Small plate (for the freezer test) — Place it in the freezer before you start so you can check the set.
Step-by-Step Instructions for Raspberry Jam
Follow these steps carefully and your raspberry jam will turn out perfectly every time. Bakes by Brown Sugar has a great breakdown of the technique behind making raspberry jam without pectin if you want to go deeper into the science.
- Sterilize your jars. Wash jars and lids with hot soapy water. Place them in a 250°F oven for 10 minutes or run them through a hot dishwasher cycle.
- Combine raspberries and sugar. Add the raspberries and sugar to your saucepan. Stir gently to coat the berries. Let them sit for 10 minutes to release their juices.
- Add lemon juice. Squeeze fresh lemon juice into the pot. Stir everything together.
- Heat the mixture over medium heat. Stir constantly as it warms. The sugar will dissolve within the first few minutes.
- Bring to a rolling boil. Increase heat to medium-high. Let the jam boil hard, stirring often to prevent sticking.
- Skim the foam. Use a spoon to remove any pink foam that forms on the surface. This keeps your jam clear and bright.
- Test the set. Drop a small amount of jam onto your cold plate. Push it with your finger. If it wrinkles and holds its shape, the jam is ready. The temperature should read 220°F.
- Mash or strain if desired. Use a potato masher for texture or press through a strainer for a smooth raspberry jam.
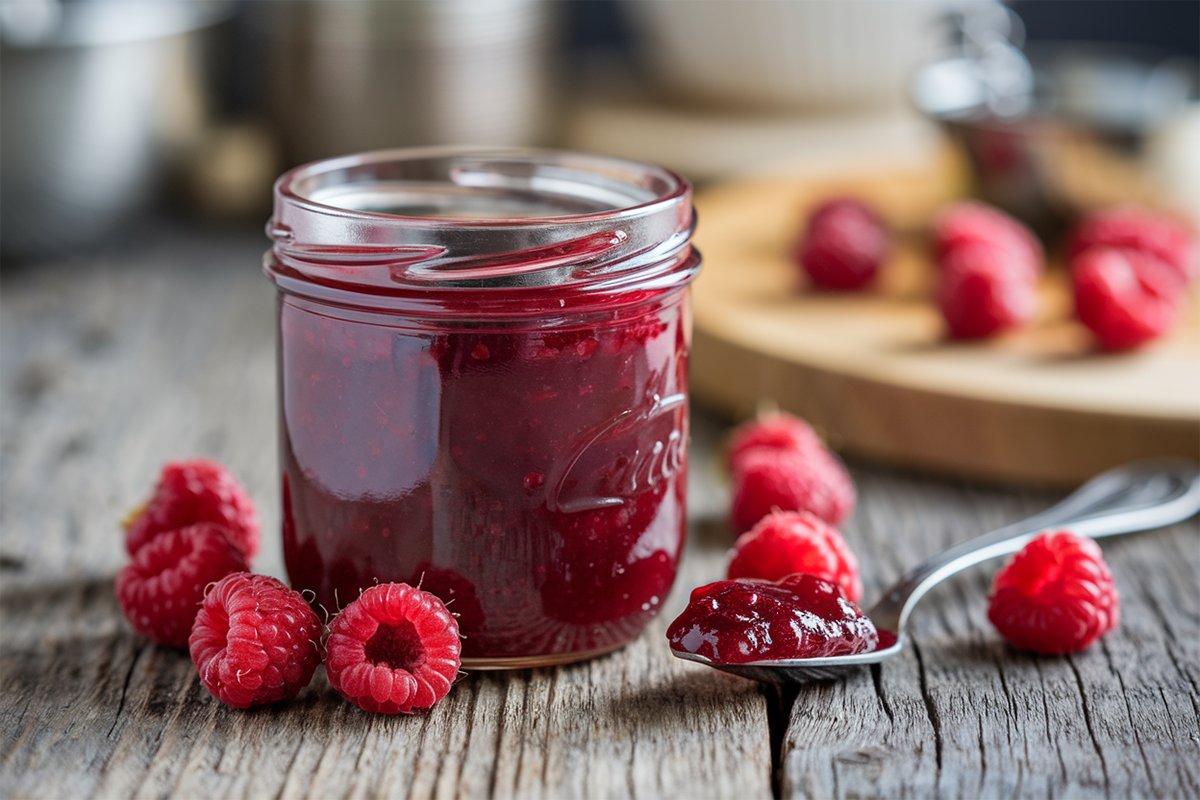
- Fill your jars. Use a ladle and funnel to pour the hot jam into sterilized jars. Leave a quarter inch of space at the top.
- Seal and cool. Wipe the jar rims clean, secure the lids, and let the jars cool completely at room temperature before storing.
Tips for a Perfect Raspberry Jam
A few small habits make a big difference when you make raspberry jam at home.
- Use ripe but not overripe berries. Overripe raspberries have less natural pectin, which makes setting harder. Slightly firm berries give better results.
- Do not skip the lemon juice. Even if you are not a fan of lemon flavor, the juice is essential. It balances sweetness and helps the raspberry jam set without added pectin.
- Watch the heat closely. High heat is necessary, but constant stirring prevents burning. Never walk away from a boiling jam.
- Use the cold plate test every time. A thermometer is helpful, but the plate test gives you a visual confirmation that your raspberry jam has the right consistency.
- Make small batches. Smaller batches cook faster and set more reliably. A batch using about four cups of raspberries is ideal for beginners.
Serving Suggestions and Variations
Raspberry jam is one of the most versatile spreads you will ever make. Here are some of the best ways to use it:
- Spread it on warm buttered toast or a freshly baked biscuit.
- Swirl it into plain Greek yogurt for a quick breakfast.
- Use it as a filling for thumbprint cookies or layer cakes.
- Spoon it over vanilla ice cream for an easy dessert.
- Stir it into oatmeal with a sprinkle of nuts.
- Use it as a glaze for roasted chicken or pork tenderloin.
You can also change up the base recipe to create fun variations. Add a pinch of cinnamon or cardamom for warmth. Stir in a splash of vanilla extract right before filling the jars. Mix in a handful of blackberries or strawberries along with the raspberries. Each variation produces a slightly different raspberry jam with its own personality.
Storage and Make-Ahead Instructions
Proper storage keeps your raspberry jam fresh and safe to eat for months. Once the jars have cooled completely, store them in a cool, dark pantry for up to one year if properly sealed. An opened jar of raspberry jam stays fresh in the refrigerator for up to three weeks.
You can also freeze raspberry jam. Pour the cooled jam into freezer-safe containers, leaving half an inch of space at the top for expansion. Frozen raspberry jam keeps well for up to 12 months. Thaw it overnight in the refrigerator before using. This make-ahead method is perfect if you want to batch-cook during berry season and enjoy homemade jam all winter long.
Frequently Asked Questions About Raspberry Jam
Do I need pectin to make raspberry jam?
No, you do not. Raspberries contain natural pectin, especially when they are slightly underripe. Combined with lemon juice and the right amount of sugar, your raspberry jam will set without any added pectin.
Why is my raspberry jam too runny?
The jam likely did not reach the setting temperature of 220°F, or the batch was too large. Try returning it to the stove and cooking it longer. You can also chill a small spoonful to check the consistency before filling jars.
Can I use frozen raspberries for this jam?
Yes. Frozen raspberries work well for raspberry jam. Thaw them first and drain any excess liquid before cooking. The flavor is slightly less intense than fresh, but the result is still delicious.
How do I know if my raspberry jam has sealed correctly?
Press the center of the lid after cooling. If it does not flex or pop back, the jar has sealed. Any jar that did not seal should go straight into the refrigerator and be used within three weeks.
Is raspberry jam healthy?
Homemade raspberry jam made with real fruit contains vitamins, antioxidants, and fiber from the raspberries. It does contain sugar, so enjoy it in moderate amounts. Compared to store-bought versions with additives, homemade is always the cleaner choice.
Nutrition Information
| Nutrient | Per Tablespoon (approx.) |
|---|---|
| Calories | 48 kcal |
| Carbohydrates | 12 g |
| Sugar | 11 g |
| Fiber | 0.5 g |
| Protein | 0.1 g |
| Fat | 0 g |
| Vitamin C | 3 mg |
| Potassium | 20 mg |
| Sodium | 0 mg |
Time to Make Your Own Raspberry Jam
There is something genuinely satisfying about opening your pantry and seeing a row of homemade raspberry jam jars lined up and ready to go. This recipe gives you a bright, flavorful spread made from real ingredients you can feel good about. Whether you spread it on morning toast, gift it to a neighbor, or bake it into a holiday cookie, this raspberry jam earns its place in your kitchen all year long.
Try this recipe this weekend and share your results in the comments below. I would love to hear how yours turned out, what variations you tried, and who you made it for. Your kitchen stories are always welcome here.
For another delicious way to use fruit preserves, our strawberry cheesecake cookies feature a delightful jam filling.
Homemade Raspberry Jam
Equipment
- 1 Large heavy-bottomed saucepan
- 1 Wooden Spoon or Silicone Spatula
- 1 Candy or instant-read thermometer
- 2 Glass mason jars with lids sterilized
- 1 Ladle and wide-mouth funnel
- 1 Small plate for freezer set test
Ingredients
Main Ingredients
- 4 cups fresh raspberries ripe and plump; frozen works too
- 2 cups granulated white sugar adjust to taste
- 2 tablespoons fresh lemon juice about 1 lemon
- 1 teaspoon lemon zest optional, adds brightness
Instructions
- Sterilize your jars. Wash jars and lids with hot soapy water. Place them in a 250°F oven for 10 minutes or run through a hot dishwasher cycle.
- Combine raspberries and sugar in your saucepan. Stir gently to coat the berries. Let sit for 10 minutes to release their juices.
- Add fresh lemon juice to the pot. Stir everything together to combine.
- Heat the mixture over medium heat. Stir constantly as it warms until the sugar fully dissolves.
- Bring to a rolling boil over medium-high heat. Stir often to prevent sticking and burning.
- Skim the foam from the surface using a spoon. This keeps your jam clear and vibrant.
- Test the set by dropping a small amount of jam onto your cold plate. Push it with your finger — if it wrinkles and holds, the jam is ready. The temperature should read 220°F.
- Mash or strain the jam depending on your preferred texture. Use a potato masher for chunks or a strainer for a smooth finish.
- Fill your sterilized jars using a ladle and funnel. Leave a quarter inch of space at the top.
- Seal and cool the jars. Wipe rims clean, secure the lids, and let cool completely at room temperature before storing.
