Introduction to Red Velvet Brownies
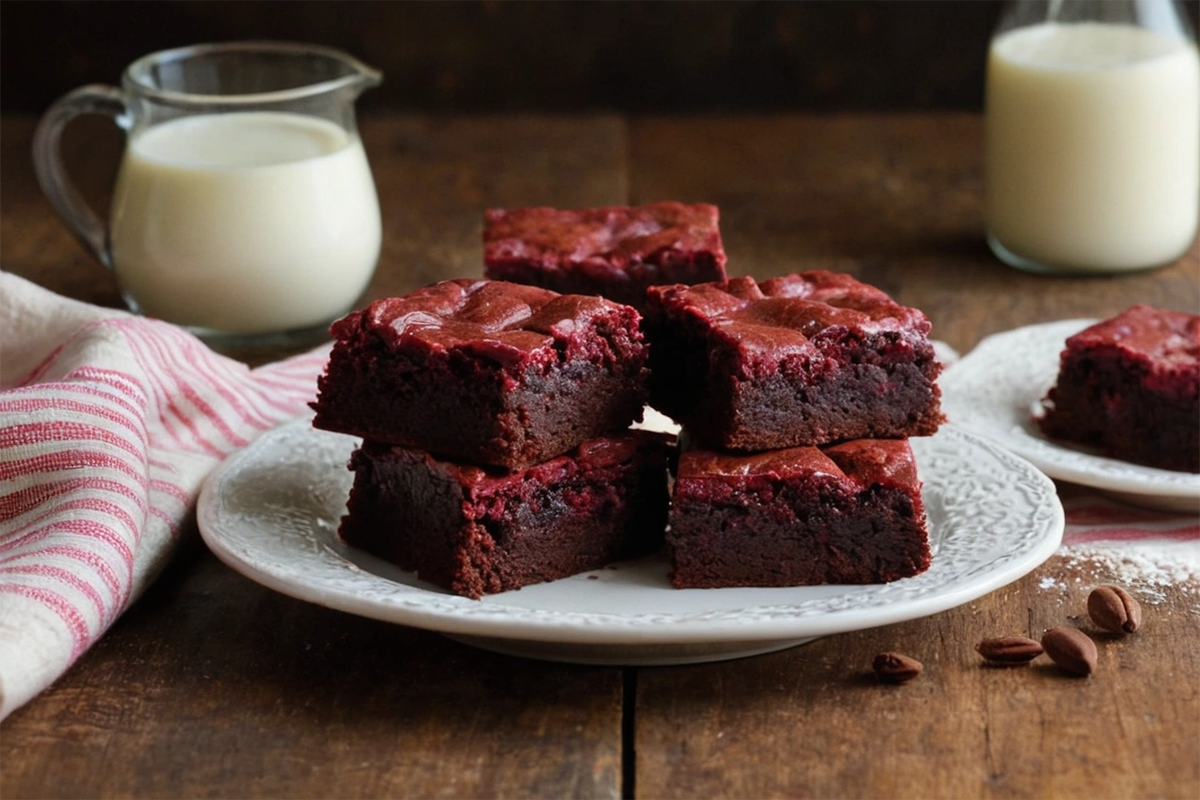
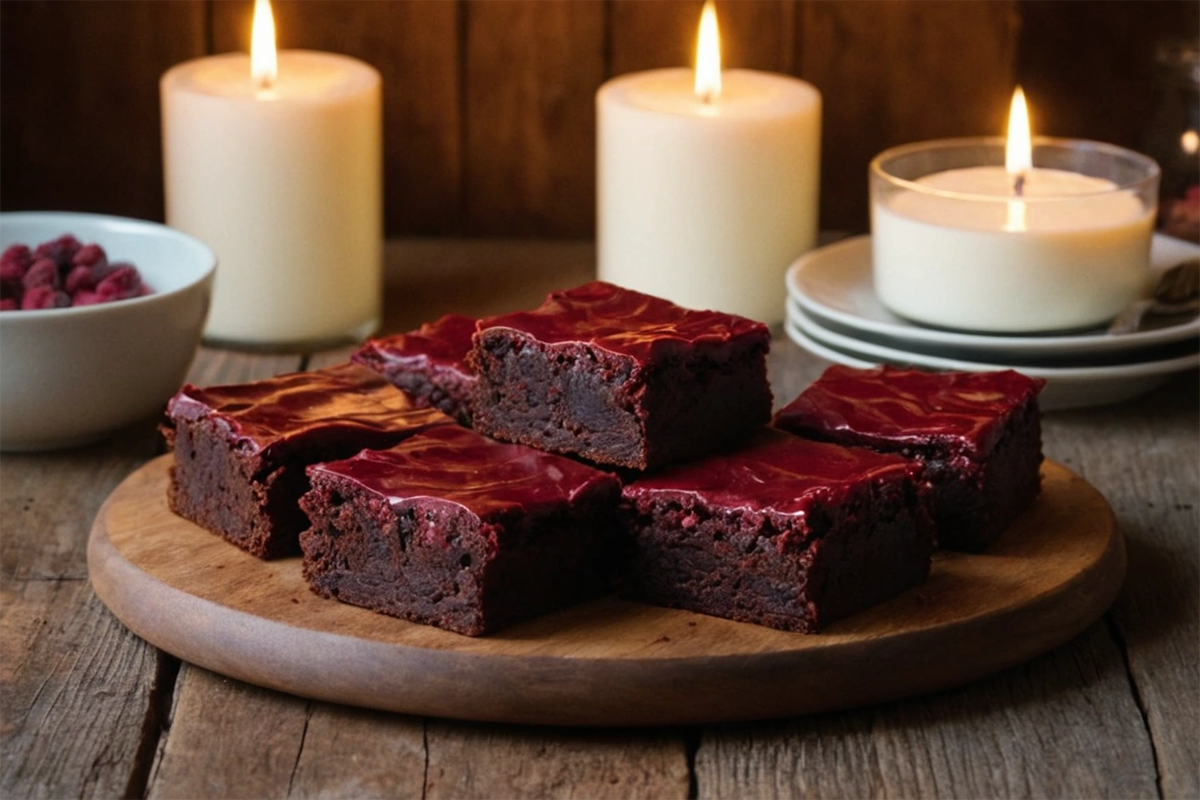
Red Velvet Brownies are a delightful fusion of two beloved desserts—brownies and red velvet cake. Combining the rich, fudgy texture of a brownie with the distinctive tang and vibrant red color of red velvet, these brownies are a must-try for any dessert lover. They offer the perfect balance of flavors and textures, making them a popular choice for holidays, special occasions, or just a sweet treat to enjoy at home.
The allure of red velvet lies not just in its taste, but also in its striking appearance. The bright red hue makes these brownies a visual delight, while the smooth, tangy cream cheese frosting adds a layer of indulgence that elevates the entire experience. For those looking to explore more creative dessert options, the Best Baking Tips for Perfect Brownies provides valuable insights to ensure your brownies turn out perfectly every time.
If you’re a fan of red velvet, you’ll love these brownies. They capture the essence of the classic red velvet cake, but with the dense, chewy texture that brownie enthusiasts crave. For more red velvet inspirations, check out Explore More Red Velvet Recipes, which offers a variety of ideas to satisfy your red velvet cravings.
Table of Contents
Why Red Velvet Brownies are a Crowd Favorite
Flavor Profile
The rich, chocolatey taste of Red Velvet Brownies is what makes them stand out. Unlike traditional brownies, which are intensely chocolatey, red velvet brownies have a more nuanced flavor profile. The cocoa powder adds depth, while the vinegar and buttermilk (or alternatives) introduce a slight tanginess that is characteristic of red velvet. This combination creates a balanced sweetness that is neither too overpowering nor too subtle.
Texture
One of the main reasons people love Red Velvet Brownies is their texture. These brownies strike the perfect balance between being fudgy and cakey. The addition of ingredients like vinegar and buttermilk (or suitable alternatives) helps achieve a tender crumb, while the cocoa powder ensures a rich, velvety texture that melts in your mouth. Whether you prefer your brownies on the dense side or with a bit more lift, this recipe offers the best of both worlds.
Visual Appeal
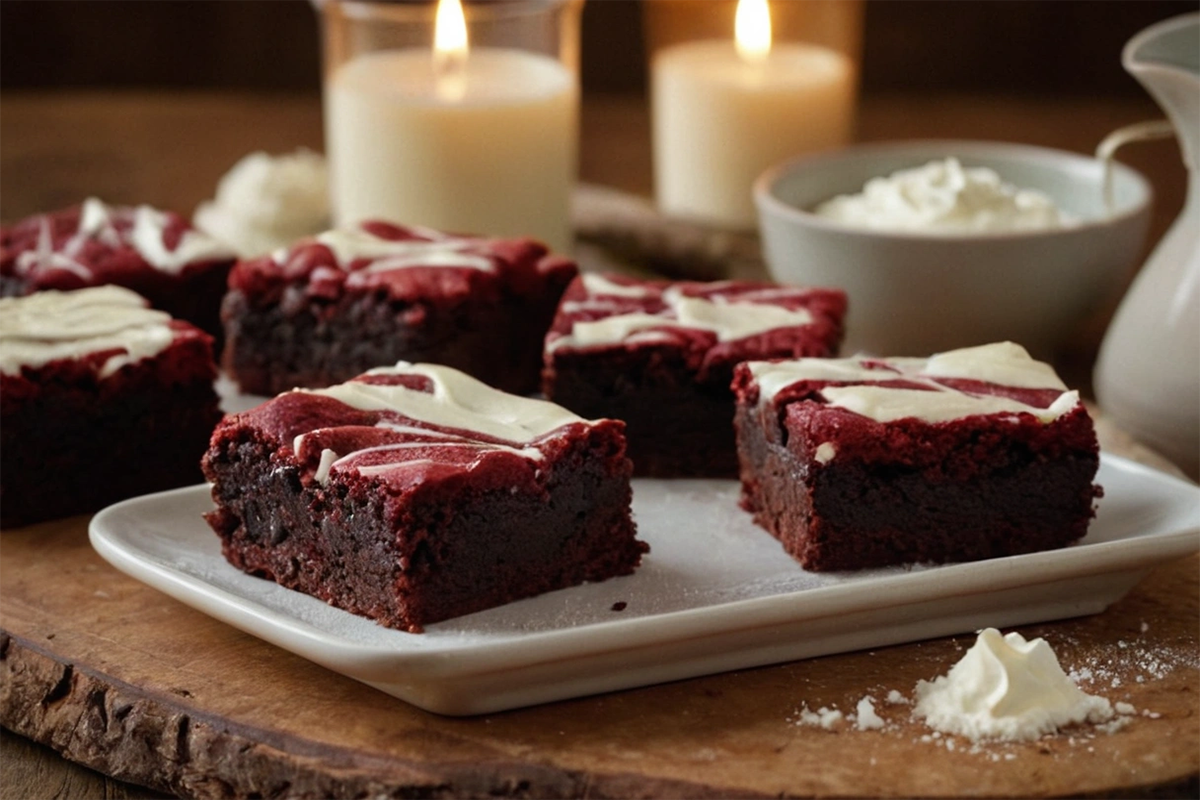
Red Velvet Brownies are not just delicious—they’re also stunning to look at. The vibrant red color, achieved through the use of red gel food coloring, makes these brownies a showstopper at any event. When topped with creamy, white cream cheese frosting, the contrast between the red and white creates a visually appealing dessert that’s almost too beautiful to eat. If you’re interested in exploring more creative ways to use cream cheese, the Creative Ways to Use Cream Cheese offers additional ideas that complement this dessert perfectly.
Ingredients for Red Velvet Brownies
To create these indulgent Red Velvet Brownies, you’ll need the following ingredients:
Dry Ingredients
- Cocoa Powder: Provides the chocolate base and deepens the red velvet flavor.
- All-Purpose Flour: Gives structure to the brownies, ensuring they are dense but still tender.
- Salt: Enhances the overall flavor, balancing the sweetness.
Wet Ingredients
- Melted Butter: Adds richness and ensures the brownies have a fudgy texture.
- Granulated Sugar: Sweetens the brownies and contributes to their chewy texture.
- Red Gel Food Coloring: Essential for achieving the vibrant red color characteristic of red velvet.
- Eggs: Provide structure and help bind the ingredients together.
- Vanilla Extract: Enhances the flavor, adding warmth and depth.
- Vinegar: Reacts with the cocoa powder and baking soda, contributing to the unique red velvet flavor.
Cream Cheese Frosting
- Cream Cheese: The base for the frosting, offering a tangy contrast to the sweet brownies.
- Butter: Adds creaminess and helps the frosting spread smoothly.
- Vanilla Extract: Enhances the flavor of the frosting.
- Powdered Sugar: Sweetens the frosting without making it too heavy.
- Milk: Helps achieve the desired frosting consistency.
Substitutions and Variations
- Butter Alternatives: Use dairy-free or plant-based butter for a dairy-free version.
- Red Gel Food Coloring: For a more natural color, use plant-based alternatives. Keep in mind that the color may be less vibrant.
- Gluten-Free Option: Replace the all-purpose flour with a 1:1 gluten-free flour blend to make the brownies gluten-free.

Step-by-Step Guide to Making Red Velvet Brownies
Follow these steps to create a batch of Red Velvet Brownies that are both delicious and visually stunning:
Step 1: Preparing the Brownie Batter
Start by preheating your oven to 350°F (177°C) and lining an 8×8 inch baking pan with parchment paper. This will make it easier to remove the brownies from the pan once they’re baked.
In a large mixing bowl, melt the butter. You can do this in the microwave in 30-second intervals, stirring in between until fully melted. Once melted, stir in the granulated sugar until well combined. This mixture should look smooth and slightly thick.
Next, add the red gel food coloring, vanilla extract, and vinegar to the butter and sugar mixture. Whisk these ingredients together until fully incorporated. The vinegar not only enhances the red velvet flavor but also helps to achieve that iconic bright red color.
Step 2: Mixing Dry and Wet Ingredients
In a separate bowl, whisk together the cocoa powder, flour, and salt. Gradually add the dry ingredients to the wet ingredients, stirring until just combined. Be careful not to overmix, as this can result in tough brownies. The batter should be thick and smooth, with a deep red color.
Once the batter is ready, pour it into the prepared baking pan, spreading it evenly with a spatula. Make sure the batter reaches all corners of the pan for even baking.
Step 3: Baking the Brownies
Place the pan in the preheated oven and bake for 25-30 minutes, or until a toothpick inserted into the center comes out with a few moist crumbs. Avoid overbaking, as this can dry out the brownies. Once baked, allow the brownies to cool in the pan for about 30 minutes before transferring them to a wire rack to cool completely.
Step 4: Making the Cream Cheese Frosting
While the brownies are cooling, prepare the cream cheese frosting. In a medium-sized bowl, beat together the cream cheese and butter until smooth and creamy. Add the vanilla extract and powdered sugar, beating until the frosting is light and fluffy. If the frosting is too thick, add a teaspoon or two of milk to reach the desired consistency.
Step 5: Frosting and Serving
Once the brownies are completely cool, spread the cream cheese frosting evenly over the top. For a smooth finish, use an offset spatula to spread the frosting. If you prefer a thicker layer of frosting, feel free to double the frosting recipe.
Cut the brownies into squares, wiping the knife between cuts to ensure clean edges. Serve these Red Velvet Brownies as a decadent dessert or as part of a dessert platter for special occasions.
Creative Variations of Red Velvet Brownies
If you’re looking to add a twist to your Red Velvet Brownies, here are a few creative variations to try:
Red Velvet Cheesecake Brownies
For an extra layer of indulgence, create a cream cheese swirl in your brownies. Prepare the brownie batter as directed. In a separate bowl, mix 8 oz. of room temperature cream cheese with ¼ cup of sugar, 1 egg, and a splash of vanilla extract until smooth. Pour ¾ of the brownie batter into the prepared pan, then drop spoonfuls of the cream cheese mixture over the top. Swirl the cream cheese into the brownie batter with a knife, then bake as directed.
Red Velvet Cake Mix Brownies
If you’re short on time, you can make Red Velvet Brownies using a boxed cake mix. Simply mix a 15.25 oz. box of red velvet cake mix with 2 eggs, 1 egg yolk, and ½ cup of melted butter. Pour the batter into a prepared pan and bake as directed. This shortcut version still delivers delicious results with a fraction of the effort.
White Chocolate Chip Brownies
For an extra burst of sweetness, add 1 cup of white chocolate chips to the brownie batter just before baking. The white chocolate pairs beautifully with the tangy cream cheese frosting and adds a delightful texture to the brownies.
Holiday-Themed Brownies
To make these brownies festive for the holidays, add green food coloring to the frosting or sprinkle red and green sprinkles on top. You can also cut the brownies into fun shapes using cookie cutters—stars, hearts, and Christmas trees all work well.
Tips for Perfect Red Velvet Brownies
Achieving the perfect Red Velvet Brownies is all about balancing flavor and texture. Here are some tips to help you get it right every time:
Achieving the Ideal Texture
For the best texture, be careful not to overmix the batter once the dry ingredients are added. Overmixing can lead to dense, tough brownies. Instead, mix just until the ingredients are combined. Additionally, make sure not to overbake the brownies—this can dry them out and make them crumbly.
Enhancing Flavor
To enhance the red velvet flavor, ensure that you’re using high-quality cocoa powder and fresh ingredients. The combination of cocoa, vinegar, and vanilla is what gives red velvet its signature taste, so don’t skimp on these ingredients. If you prefer a more pronounced tang, consider adding a touch more vinegar to the batter.
Avoiding Common Mistakes
One common mistake when making Red Velvet Brownies is not allowing the brownies to cool completely before frosting them. If the brownies are still warm, the frosting will melt and become runny. Patience is key—wait until the brownies are fully cooled to ensure a smooth, even layer of frosting.
Storing and Reheating
If you have leftovers, store the brownies in an airtight container in the refrigerator for up to five days. To keep them from drying out, you can also wrap them individually in plastic wrap before placing them in the container. When ready to enjoy, let the brownies come to room temperature or warm them slightly in the microwave for a gooey, delicious treat.
Serving Ideas for Red Velvet Brownies
Red Velvet Brownies are a versatile dessert that can be served in various ways:
With a Scoop of Ice Cream
For a truly indulgent dessert, serve your brownies warm with a scoop of vanilla or cream cheese ice cream. The contrast of the cold ice cream and warm brownie creates a delightful combination of flavors and textures.
As a Dessert Platter
Create a stunning dessert board by arranging your Red Velvet Brownies alongside other treats like cookies, chocolate-covered strawberries, and mini cheesecakes. This is a great option for parties and gatherings, allowing guests to sample a variety of sweets.
Garnishing
Add a touch of elegance to your brownies by garnishing them with edible flowers, a dusting of powdered sugar, or a drizzle of melted white chocolate. These simple additions can elevate the presentation and make your dessert even more special.

FAQs About Red Velvet Brownies
Do red velvet brownies need to be refrigerated?
Yes, if your Red Velvet Brownies are topped with cream cheese frosting, they should be stored in the refrigerator. The frosting contains dairy, which can spoil if left at room temperature for too long. Refrigerated brownies will stay fresh for up to five days.
What gives red velvet its flavor?
The unique flavor of red velvet comes from the combination of cocoa powder, vinegar, and buttermilk (or suitable alternatives). These ingredients create a subtle tang that balances the sweetness of the dessert, resulting in a flavor that’s distinct from other chocolate-based treats.
Can I use green food coloring instead of red?
While you can use green food coloring, the result will be more of a brownish hue due to the cocoa powder in the recipe. If you’re looking for a festive alternative to red velvet, you might consider using white chocolate and omitting the cocoa powder to achieve a true green color.
How do I make gluten-free red velvet brownies?
To make gluten-free Red Velvet Brownies, simply replace the all-purpose flour with a 1:1 gluten-free flour blend. Be sure to check that all other ingredients, including cocoa powder and baking powder, are also gluten-free. The texture may vary slightly, but the brownies will still be delicious.
Can I freeze red velvet brownies?
Yes, Red Velvet Brownies freeze well. To freeze, wrap individual brownies in plastic wrap and place them in a freezer-safe container. They can be stored in the freezer for up to two months. When ready to enjoy, thaw the brownies at room temperature or warm them slightly in the microwave.
Conclusion: The Appeal of Red Velvet Brownies
Red Velvet Brownies are a dessert that truly has it all—rich flavor, beautiful presentation, and a texture that satisfies every craving. Whether you’re making them for a special occasion or just because, these brownies are sure to impress everyone who tries them.
With their striking red color and tangy cream cheese frosting, these brownies are as pleasing to the eye as they are to the palate. The versatility of this recipe allows you to get creative with variations, ensuring that you’ll never tire of this delightful dessert.
So why not give Red Velvet Brownies a try? Whether you stick to the classic recipe or experiment with your own twist, you’ll find that these brownies are a crowd-pleasing treat that’s perfect for any occasion.

Red Velvet Brownies
Equipment
- Mixing Bowl
- Baking Pan
- Whisk
- Spatula
Ingredients
Dry Ingredients
- 1 cup Cocoa Powder Provides the chocolate base.
- 1 cup All-Purpose Flour Gives structure to the brownies.
- 1 teaspoon Salt Enhances overall flavor.
Wet Ingredients
- 1/2 cup Melted Butter Adds richness.
- 1 cup Granulated Sugar Sweetens the brownies.
- 1 tablespoon Red Gel Food Coloring For vibrant color.
- 2 large Eggs Provides structure.
- 1 teaspoon Vanilla Extract Enhances flavor.
- 1 teaspoon Vinegar Contributes to red velvet flavor.
Cream Cheese Frosting
- 8 oz Cream Cheese Base for frosting.
- 1/2 cup Butter Adds creaminess.
- 1 teaspoon Vanilla Extract Enhances frosting flavor.
- 2 cups Powdered Sugar Sweetens the frosting.
- 2 tablespoons Milk Adjusts frosting consistency.
Instructions
- Preheat your oven to 350°F (177°C) and line an 8x8 inch baking pan with parchment paper.
- Melt the butter and mix with granulated sugar until smooth.
- Add red gel food coloring, vanilla extract, and vinegar to the butter mixture and whisk until combined.
- In a separate bowl, whisk together cocoa powder, flour, and salt. Gradually add to the wet ingredients and mix until just combined.
- Pour the batter into the prepared pan and spread evenly.
- Bake for 25-30 minutes or until a toothpick comes out with a few moist crumbs.
- While cooling, prepare the cream cheese frosting by beating cream cheese and butter until smooth, then add vanilla and powdered sugar.
- Once brownies are cool, frost with cream cheese frosting and cut into squares.
