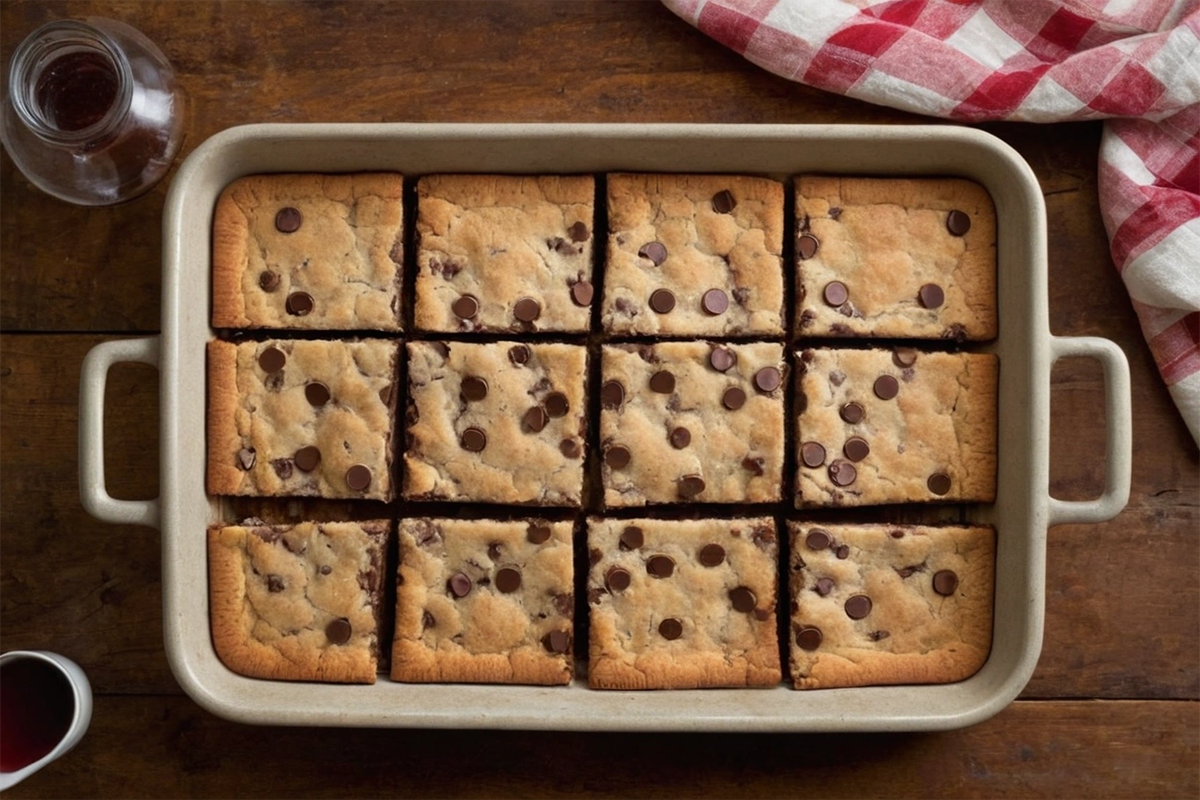
Every time I pull a pan of Chocolate Chip Cookie Bars out of the oven, my kitchen fills with that warm, buttery smell that makes everyone wander in from the other room. I started making these years ago when my kids were young and I needed something fast, easy, and guaranteed to disappear. No scooping, no chilling the dough, no waiting. You just press the dough into a pan and bake. If you love a good chocolate chip cookie but want something even easier, these bars are exactly what you need.
I have made these for school bake sales, holiday cookie trays, and lazy Sunday afternoons when I just want something sweet without a lot of fuss. The best part? You do not need to be an experienced baker. If you can melt butter and stir a bowl, you can make these. I always tell my friends that this recipe is one of those you keep on a sticky note inside your cabinet door because you will come back to it again and again.
Why Chocolate Chip Cookie Bars Belong in Your Recipe Box
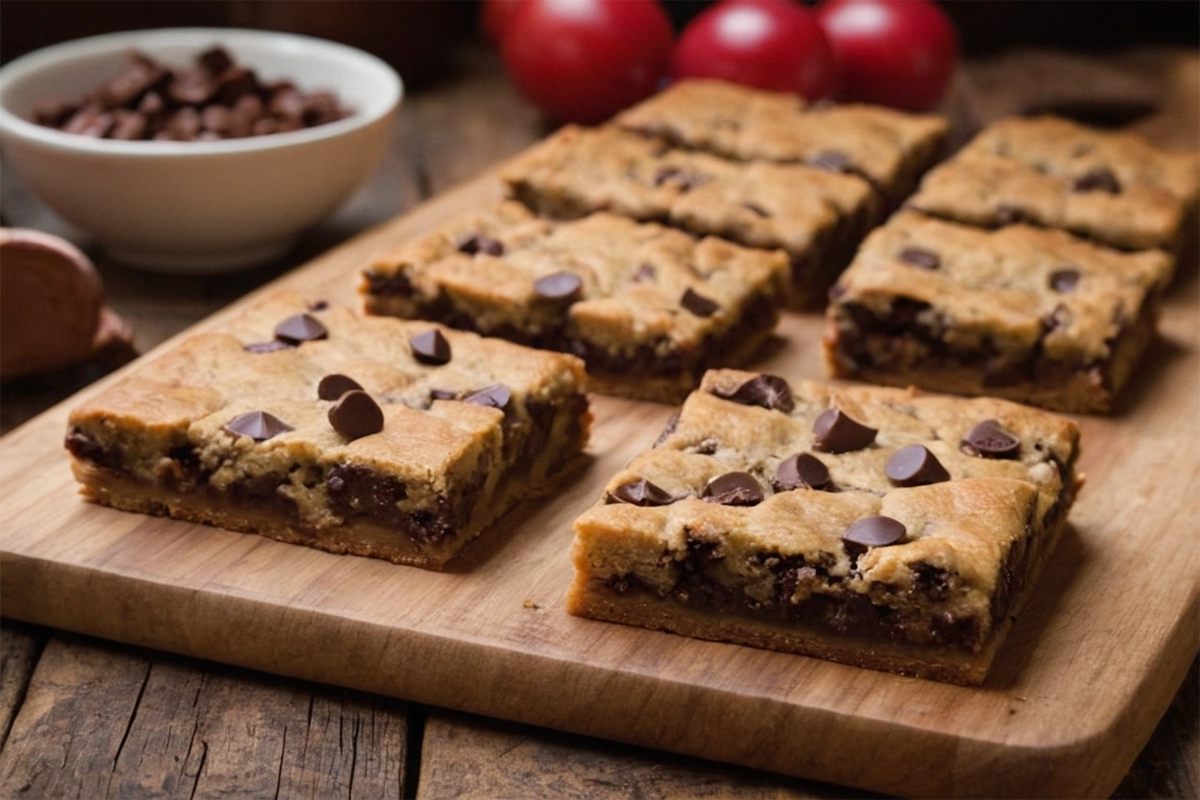
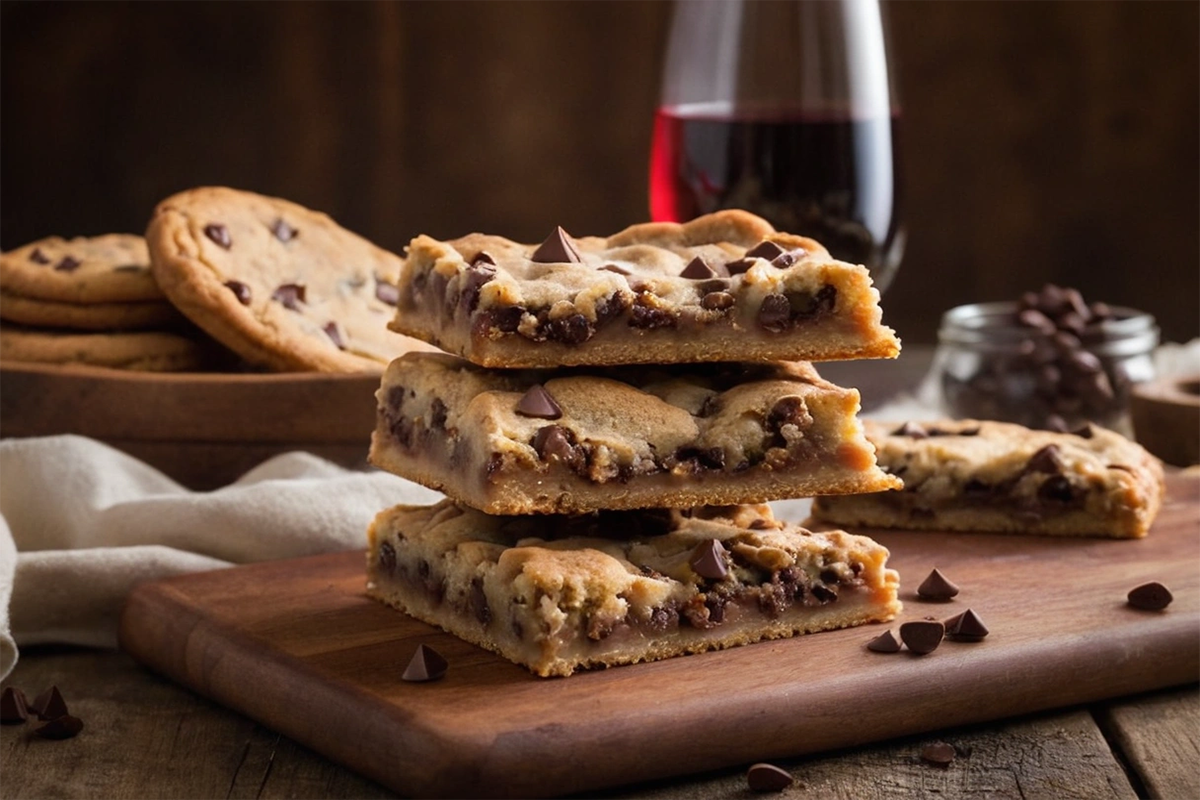
These Chocolate Chip Cookie Bars have everything you want in a dessert. They are thick, chewy in the center, and slightly crisp at the edges. Each bite is loaded with melted chocolate chips that pool into little pockets of sweetness. The texture sits right between a soft cookie and a blondie, which makes them totally irresistible to kids and adults alike.
What makes this recipe stand out is the simplicity. You need one bowl, one pan, and basic pantry staples. There is no electric mixer required, no special techniques, and no cooling racks full of individual cookies. You bake one batch and cut it into bars. According to Sally’s Baking Addiction, using melted butter instead of softened butter is what gives cookie bars that dense, chewy texture we all love. That one swap makes a big difference.
These bars also travel well. Wrap them up and toss them in a bag for a road trip, a potluck, or a lunchbox. They hold their shape, stay fresh for days, and taste just as good on day three as they did right out of the oven.
If you love simple baking projects, these cookie bars are as easy to make as our popular cake mix cookies, perfect for satisfying your sweet tooth with minimal effort.
Ingredients for Chocolate Chip Cookie Bars
These Chocolate Chip Cookie Bars use simple, everyday ingredients you likely already have at home. Here is what you need and why each one matters.
Dry Ingredients:
- All-purpose flour — gives the bars structure and helps them hold their shape when cut
- Baking soda — creates just enough lift so the bars are not too dense
- Salt — balances the sweetness and brings out the chocolate flavor
Wet Ingredients:
- Melted butter — creates that rich, chewy texture that makes these bars so satisfying
- Brown sugar — adds moisture and a deep caramel-like flavor
- Granulated sugar — helps the edges turn golden and slightly crisp
- Eggs — bind everything together and add richness
- Pure vanilla extract — rounds out the flavor and adds warmth
Mix-ins:
- Semi-sweet chocolate chips — the star of the show; use good quality chips for the best melt
- Optional: chopped walnuts or pecans — add crunch and a nutty contrast to the sweet dough
Tools You Need
You do not need any fancy equipment to make these bars. Here is a quick list of what to grab before you start.
- A 9×13 inch baking pan
- Parchment paper or non-stick spray
- One large mixing bowl
- A wooden spoon or sturdy spatula
- Measuring cups and spoons
- A wire cooling rack
- A sharp knife for cutting clean bars
Step-by-Step Instructions for Chocolate Chip Cookie Bars
Follow these steps and your Chocolate Chip Cookie Bars will come out perfectly every time.
- Preheat your oven to 350°F. Line a 9×13 inch baking pan with parchment paper and lightly grease it.
- Melt the butter in a large bowl. Let it cool for two minutes before adding the sugars.
- Stir both sugars into the melted butter until fully combined and smooth.
- Add the eggs and vanilla extract. Mix well until the batter looks glossy and thick.
- Add the flour, baking soda, and salt. Stir until no dry streaks remain. Do not overmix.
- Fold in the chocolate chips. Reserve a small handful to press onto the top before baking.
- Spread the dough evenly into the prepared pan. Use your hands or a spatula to press it flat.
- Scatter the reserved chocolate chips over the top and press them in gently.
- Bake for 22 to 26 minutes, until the top is golden and a toothpick comes out with moist crumbs.
- Cool in the pan on a wire rack for at least 20 minutes before cutting into bars.
Tips for a Perfect Result
A few small adjustments can take your Chocolate Chip Cookie Bars from good to outstanding.
- Do not overbake. Pull the pan when the center looks slightly underdone. The bars continue to set as they cool, and you want that chewy center to stay soft.
- Use room temperature eggs. Cold eggs can cause the melted butter to seize up and create an uneven batter. Let your eggs sit out for ten minutes before using.
- Line your pan with parchment. This makes lifting the bars out of the pan so much easier and gives you clean, even cuts every time.
- Press the dough firmly and evenly. Uneven thickness means some parts overbake while others stay underdone. Take an extra minute to flatten the dough properly.
- Let them cool before cutting. I know it is hard to wait, but cutting too early causes the bars to crumble. Give them at least 20 minutes and you will get neat, bakery-style slices.
For more insight into baking techniques that affect texture, Preppy Kitchen shares a detailed breakdown of how sugar ratios impact chewiness in cookie-style bars.
Serving Suggestions and Variations
These Chocolate Chip Cookie Bars are delicious on their own, but there are so many ways to serve and customize them.
Serving Ideas:
- Serve warm with a scoop of vanilla ice cream on top for a simple dessert
- Cut into small squares for a party platter or holiday cookie tray
- Pack them individually in wax paper for lunchboxes or bake sale bags
- Drizzle with caramel sauce and a sprinkle of flaky sea salt for a fancier presentation
Easy Variations:
- Swap semi-sweet chips for dark chocolate chips for a richer, less sweet bar
- Add a swirl of peanut butter on top of the dough before baking
- Mix in butterscotch chips alongside the chocolate for a different flavor profile
- Stir in one teaspoon of espresso powder to deepen the chocolate flavor without adding a coffee taste
- Use white chocolate chips and dried cranberries for a festive holiday version
Do not be afraid to experiment. These bars are very forgiving, and small swaps rarely go wrong.
Storage and Make-Ahead Instructions
One of the best things about Chocolate Chip Cookie Bars is how well they store. You can make them days ahead and they still taste fresh.
At Room Temperature: Store cut bars in an airtight container for up to five days. Place a piece of parchment between layers to keep them from sticking together.
In the Refrigerator: The bars stay fresh in the fridge for up to one week. Bring them to room temperature before serving for the best texture.
In the Freezer: These bars freeze beautifully. Wrap individual bars in plastic wrap and place them in a zip-top freezer bag. They keep well for up to three months. Thaw at room temperature for about an hour before eating.
Make-Ahead Tip: You can prepare the dough, press it into the pan, cover it tightly, and refrigerate it overnight. Bake the next day straight from the fridge, adding two to three minutes to the baking time.
Frequently Asked Questions
Can I use salted butter in Chocolate Chip Cookie Bars?
Yes, you can use salted butter. Just reduce or skip the added salt in the recipe. The bars will still taste great, and many bakers prefer the slight saltiness salted butter adds to sweet desserts.
Why are my Chocolate Chip Cookie Bars cakey instead of chewy?
Cakey bars usually mean too much flour or too many eggs. Measure your flour by spooning it into the cup and leveling it off, rather than scooping directly from the bag. Also, melted butter produces chewier results than softened or creamed butter.
Can I make Chocolate Chip Cookie Bars in a smaller pan?
Yes. An 8×8 or 9×9 inch pan works well for a thicker bar. Reduce the baking time slightly and check for doneness around the 20-minute mark. Thicker bars need more time in the center, so use the toothpick test to guide you.
How do I know when the bars are done baking?
Look for a golden top and set edges. The center should look slightly soft but not wet. A toothpick inserted in the middle should come out with a few moist crumbs attached, not raw batter.
Can I double this recipe?
Absolutely. Double all the ingredients and bake in two separate 9×13 pans at the same time. Baking time stays the same. This is a great option when you need a large batch for a party or holiday gathering.
Nutrition Information
| Nutrient | Amount Per Bar |
|---|---|
| Calories | 220 kcal |
| Total Fat | 10g |
| Saturated Fat | 6g |
| Cholesterol | 35mg |
| Sodium | 120mg |
| Total Carbohydrates | 32g |
| Dietary Fiber | 1g |
| Total Sugars | 22g |
| Protein | 2g |
| Calcium | 20mg |
| Iron | 1mg |
Nutrition values are estimates based on one bar from a batch cut into 24 pieces.
These Bars Are Worth Every Bite
Chocolate Chip Cookie Bars check every box. They are quick to prepare, easy to bake, crowd-pleasing, and endlessly customizable. Whether you are baking for your family on a weeknight or bringing something homemade to a gathering, this recipe always gets compliments. You do not need to be a skilled baker or spend hours in the kitchen. You just need a bowl, a pan, and the right ingredients.
Now it is your turn. Try this recipe this week and see how fast the pan empties. Leave a comment below and tell me how yours turned out. Did you add any fun mix-ins or try a variation? I would love to hear from you. And if someone in your life needs a good, reliable dessert recipe, go ahead and share this post with them.
For another delicious chocolate chip treat, our fudge cookies offer a rich and chewy experience that’s hard to resist.
Chocolate Chip Cookie Bars
Equipment
- 1 9×13-inch Baking Pan
- 1 Large Mixing Bowl
- 1 Wooden Spoon or Spatula
- 1 Parchment Paper
- 1 Wire Cooling Rack
- 1 Sharp Knife for cutting bars
Ingredients
Dry Ingredients
- 2 1/4 cups all-purpose flour spooned and leveled for accuracy
- 1 tsp baking soda
- 1 tsp salt reduce if using salted butter
Wet Ingredients
- 3/4 cup unsalted butter melted and slightly cooled
- 3/4 cup brown sugar packed
- 1/2 cup granulated sugar
- 2 large eggs room temperature
- 2 tsp pure vanilla extract
Mix-ins
- 2 cups semi-sweet chocolate chips reserve a handful for the top
- 1/2 cup chopped walnuts or pecans optional
Instructions
- Preheat your oven to 350°F. Line a 9×13 inch baking pan with parchment paper and lightly grease it.
- Melt the butter in a large bowl. Let it cool for two minutes before adding the sugars.
- Stir both sugars into the melted butter until fully combined and smooth.
- Add the eggs and vanilla extract. Mix well until the batter looks glossy and thick.
- Add the flour, baking soda, and salt. Stir until no dry streaks remain. Do not overmix.
- Fold in the chocolate chips. Reserve a small handful to press onto the top before baking.
- Spread the dough evenly into the prepared pan. Use your hands or a spatula to press it flat.
- Scatter the reserved chocolate chips over the top and press them in gently.
- Bake for 22 to 26 minutes, until the top is golden and a toothpick comes out with moist crumbs.
- Cool in the pan on a wire rack for at least 20 minutes before cutting into bars.
