I still remember the first time I pulled a pan of Red Velvet Brownies out of the oven. The deep red color, the fudgy center, the smell of cocoa filling my kitchen — my whole family came running. I was hooked. These brownies have become my go-to treat for birthdays, potlucks, holiday tables, and random Tuesday nights when I need something sweet and satisfying. If you love red velvet cake but want something simpler and more indulgent, this recipe is exactly what you need.
I know how busy life gets. Between work, family, and everything else, you do not always have hours to spend baking. That is why I love this recipe so much. It is straightforward, forgiving, and flexible. You do not need any special baking skills to get a beautiful result. Whether you are baking for your kids, your book club, or just yourself, these brownies deliver every single time. I want you to feel confident in the kitchen, and this recipe will do exactly that.
Red Velvet Brownies Recipe Overview
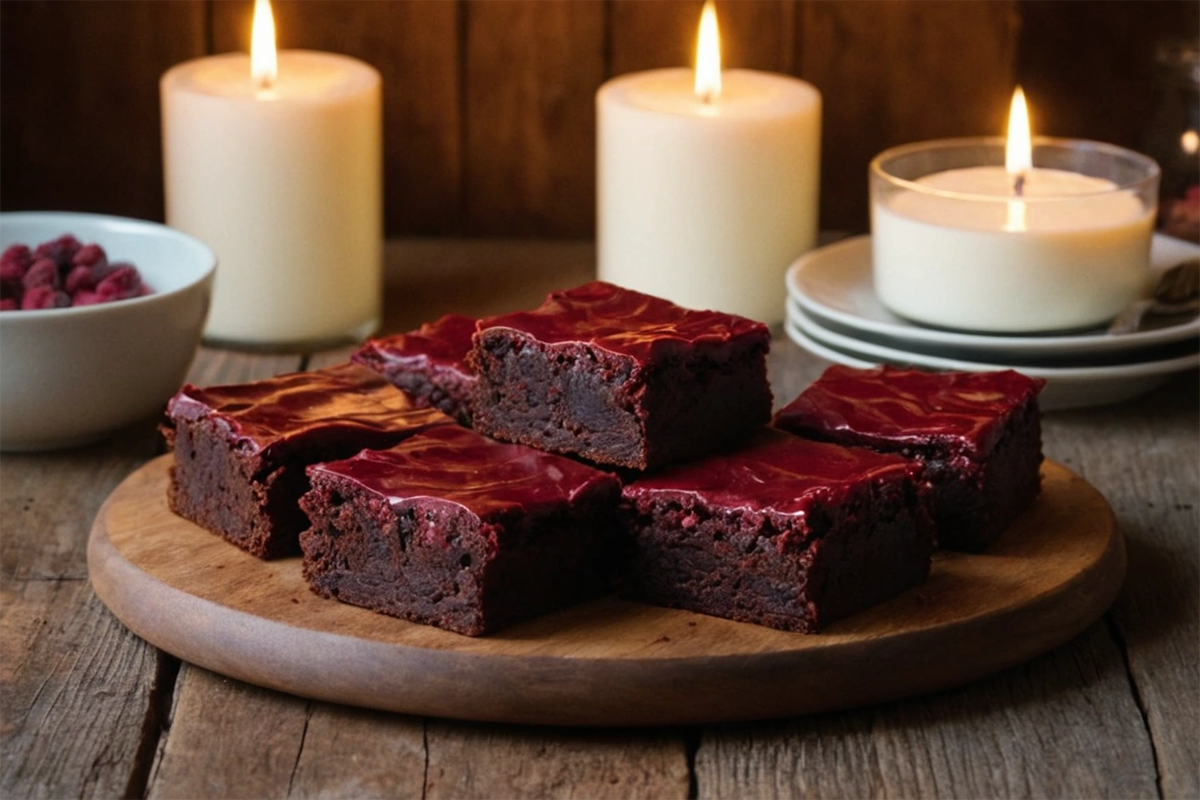
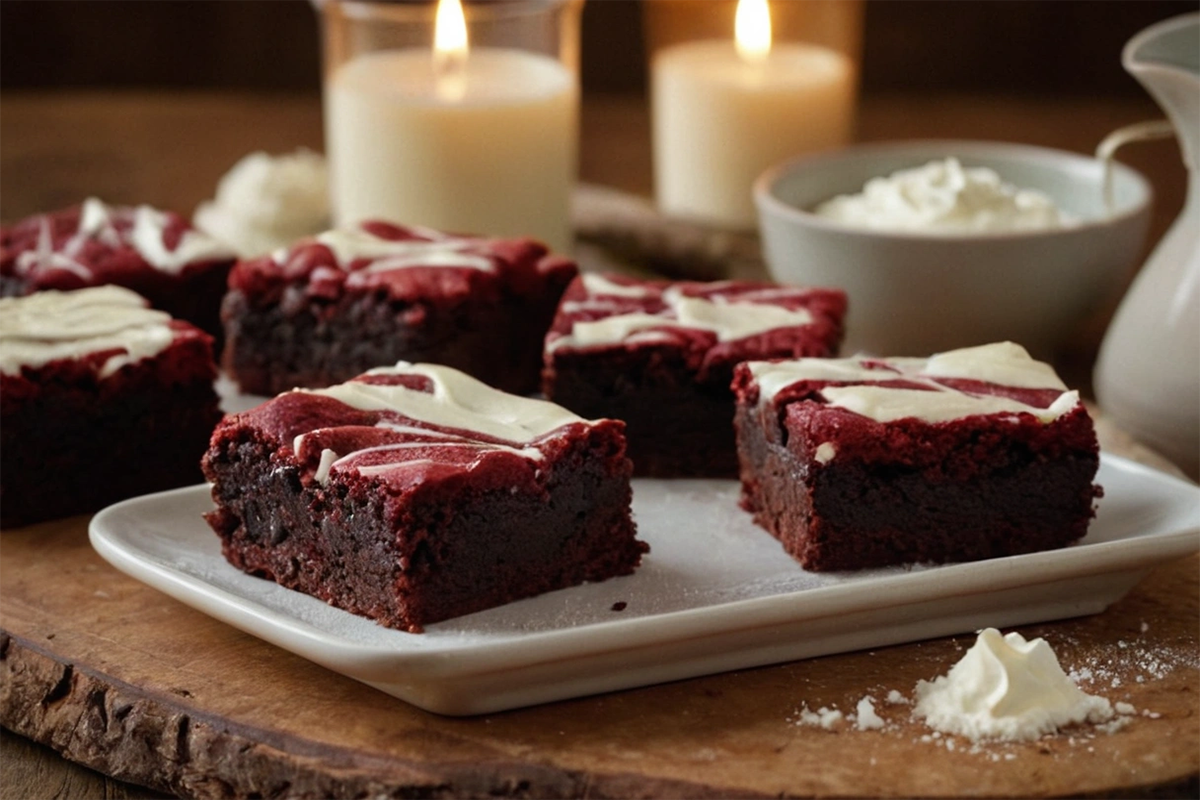
These Red Velvet Brownies sit right between a classic brownie and a red velvet cake. They are dense, fudgy, and rich with a deep cocoa flavor. The signature red color makes them look stunning on any plate. A cream cheese drizzle or swirl on top takes them to the next level. You get the best of both worlds — the bold look of red velvet and the thick, chewy texture of a brownie.
What makes this recipe stand out is the balance of ingredients. The cocoa gives you a mild chocolate base. The buttermilk adds a slight tang. The butter keeps everything moist and tender. Unlike a traditional brownie, these have a slightly lighter crumb, which makes them easier to slice cleanly. They hold their shape well, so they are great for gifting or serving at a gathering. If you want a showstopper dessert that is also easy to make, this is it.
If you’re a fan of the rich and unique flavor of velvet desserts, you might also enjoy our stunning purple velvet cake for a truly special treat.
Ingredients for Red Velvet Brownies
Here is everything you need to make a perfect batch of Red Velvet Brownies. I grouped the ingredients so you can prep them easily before you start baking.
For the Brownie Batter:
- Unsalted butter — melted butter gives the brownies a rich, fudgy texture and deep flavor
- Granulated sugar — adds sweetness and helps create a slightly crisp top layer
- Brown sugar — adds moisture and a subtle caramel depth to the batter
- Eggs — bind the batter and give structure to your Red Velvet Brownies
- Vanilla extract — enhances the cocoa and balances the sweetness
- Red food coloring — creates that signature bold red color; use gel food coloring for the most vibrant result
- All-purpose flour — provides structure without making the brownies cakey
- Unsweetened cocoa powder — the base of the chocolate flavor; do not skip this
- Salt — balances sweetness and sharpens all the other flavors
- Buttermilk — adds a slight tang and keeps the crumb tender; you can use a homemade substitute with milk and vinegar
- White vinegar — reacts with the cocoa powder to deepen the red color naturally
For the Cream Cheese Topping (optional but recommended):
- Cream cheese — softened at room temperature for smooth mixing
- Powdered sugar — sweetens the topping without graininess
- Vanilla extract — rounds out the flavor of the cream cheese layer
- Milk or heavy cream — loosens the topping to a drizzle or swirl consistency
Tools Needed
- 8×8 or 9×9 inch square baking pan
- Parchment paper
- Large mixing bowl
- Medium mixing bowl
- Hand mixer or stand mixer (for the cream cheese topping)
- Whisk
- Rubber spatula
- Measuring cups and spoons
- Cooling rack
- Sharp knife or brownie cutter
Step-by-Step Instructions for Red Velvet Brownies
Follow these steps carefully and you will get a perfect pan of Red Velvet Brownies every time.
- Preheat your oven to 350°F. Line your baking pan with parchment paper and lightly grease it with butter or non-stick spray.
- Melt the butter in a large bowl. Whisk in the granulated sugar and brown sugar until fully combined and smooth.
- Add the eggs one at a time, whisking after each addition. Stir in the vanilla extract and red food coloring until the batter turns a deep red.
- Add the white vinegar and buttermilk to the wet mixture. Stir gently to combine everything evenly.
- Sift the flour, cocoa powder, and salt together in a separate bowl. This prevents lumps and ensures even mixing.
- Fold the dry ingredients into the wet ingredients using a rubber spatula. Mix until just combined — do not overmix or the brownies will turn dense.
- Pour the batter into the prepared pan. Spread it evenly with your spatula so the brownies bake uniformly.
- If adding a cream cheese swirl, drop spoonfuls of the cream cheese mixture on top of the batter. Use a toothpick to swirl it gently.
- Bake for 25 to 30 minutes. A toothpick inserted in the center should come out with a few moist crumbs, not wet batter.
- Remove the pan from the oven and let the brownies cool completely on a rack before slicing.
- Drizzle or spread the cream cheese topping over cooled brownies. Slice into squares and serve.

Tips for Perfect Red Velvet Brownies
These small adjustments make a big difference in your final result.
- Use room temperature eggs. Cold eggs can cause the melted butter to seize up. Room temperature eggs blend into the batter much more smoothly.
- Do not overbake. The biggest mistake with Red Velvet Brownies is leaving them in the oven too long. Pull them out when the center still looks slightly underdone — they will finish setting as they cool.
- Use gel food coloring. Liquid food coloring adds too much moisture and produces a weaker color. Gel coloring gives you that bold, deep red with just a small amount. You can read more about the science behind red velvet baking at Scientifically Sweet for a deeper understanding of how cocoa and acid affect color.
- Line your pan with parchment. This makes removing the brownies clean and simple. No sticking, no broken edges.
- Chill before slicing. Once cooled to room temperature, refrigerate the brownies for 30 minutes before cutting. You will get much cleaner edges.
Serving Suggestions and Variations
Red Velvet Brownies are great on their own, but there are plenty of ways to dress them up or change the flavor.
Serving Ideas:
- Serve warm with a scoop of vanilla ice cream on top
- Dust with powdered sugar for a simple, elegant look
- Drizzle with white chocolate instead of cream cheese topping
- Cut into small squares and arrange on a platter for parties
- Pair with a glass of cold milk or hot coffee
Variations to Try:
- Cheesecake swirl version: Add a full cheesecake layer on top before baking. Check out this red velvet cheesecake swirl brownie recipe on AllRecipes for detailed guidance.
- Mint chocolate chip: Fold in mint chocolate chips for a fresh, festive flavor
- Espresso boost: Add a teaspoon of instant espresso powder to deepen the cocoa flavor
- Nut addition: Stir in chopped pecans or walnuts for crunch and texture
- Valentine’s Day version: Cut into heart shapes and add a pink cream cheese drizzle
Storage and Make-Ahead Instructions
These Red Velvet Brownies store well, which makes them great for prepping ahead of time.
Room Temperature: Store in an airtight container at room temperature for up to 3 days. Keep them away from heat and humidity to preserve the texture.
Refrigerator: If your brownies have a cream cheese topping, store them in the refrigerator in a sealed container. They stay fresh for up to 5 days. Let them come to room temperature before serving for the best texture.
Freezer: Wrap individual brownie squares in plastic wrap, then place them in a zip-top freezer bag. Freeze for up to 3 months. Thaw overnight in the refrigerator or at room temperature for about 1 hour. Do not freeze brownies with cream cheese drizzle already on top — add the topping after thawing.
Make-Ahead Tip: Bake the brownies one day in advance and store them covered at room temperature. Add the cream cheese topping the next day before serving. They taste even better on day two as the flavors settle.
Frequently Asked Questions
Can I make Red Velvet Brownies without food coloring?
Yes. Your brownies will not have the signature red color, but they will taste the same. You can use beet powder as a natural alternative. It gives a subtle pink-red hue without artificial dye.
Why did my Red Velvet Brownies turn out cakey instead of fudgy?
Too much flour or too many eggs can make brownies cakey. Measure your flour carefully using the spoon-and-level method. Also, do not overmix the batter after adding the flour.
What is the best pan size for Red Velvet Brownies?
An 8×8 inch pan gives you thicker, fudgier brownies. A 9×9 inch pan produces slightly thinner brownies with crispier edges. Both work well — choose based on your texture preference.
Can I use a box mix to make Red Velvet Brownies?
Yes. A red velvet cake mix works as a shortcut. Reduce the liquid called for on the box and add an extra egg yolk to get a fudgier texture. You can find more tips on making red velvet brownies from scratch versus mix at Eats Delightful.
Do Red Velvet Brownies need to be refrigerated?
Only if they have a cream cheese topping. Plain brownies without dairy-based frosting stay fine at room temperature in a sealed container for up to 3 days.
For another show-stopping dessert, our strawberry earthquake cake is a rich and flavorful option that’s sure to impress.
Nutrition Information
| Nutrient | Per Serving (1 brownie) |
|---|---|
| Calories | 280 kcal |
| Carbohydrates | 34 g |
| Protein | 3 g |
| Total Fat | 14 g |
| Saturated Fat | 8 g |
| Cholesterol | 65 mg |
| Sodium | 160 mg |
| Sugar | 24 g |
| Fiber | 1 g |
| Calcium | 40 mg |
| Iron | 1.2 mg |
Nutrition values are estimates based on 16 servings per 8×8 pan. Values will vary depending on specific ingredients used.
Ready to Bake Your Best Batch Yet?
Red Velvet Brownies are one of those recipes you will keep coming back to. They look impressive, taste incredible, and come together without a lot of fuss. Whether you are baking for a special occasion or just treating yourself, this recipe gives you a reliable, delicious result every time.
Now it is your turn. Pull out that mixing bowl, grab your ingredients, and bake a batch today. If you try this recipe, leave a comment below and let me know how it turned out. Share your photos and tag your friends who would love this recipe too. Your feedback helps this community grow and inspires other home bakers just like you.
Red Velvet Brownies
Equipment
- 1 8×8 inch baking pan (or 9×9 inch)
- 1 Parchment Paper
- 1 Large Mixing Bowl
- 1 Medium mixing bowl
- 1 Hand Mixer or Stand Mixer (for cream cheese topping)
- 1 Whisk
- 1 Rubber Spatula
- 1 Cooling rack
- 1 Sharp knife or brownie cutter
Ingredients
Brownie Batter
- 1/2 cup unsalted butter melted
- 3/4 cup granulated sugar
- 1/4 cup brown sugar packed
- 2 large eggs room temperature
- 1 tsp vanilla extract
- 2 tbsp red food coloring gel preferred
- 3/4 cup all-purpose flour spooned and leveled
- 3 tbsp unsweetened cocoa powder
- 1/4 tsp salt
- 2 tbsp buttermilk or milk with 1 tsp white vinegar
- 1 tsp white vinegar
Cream Cheese Topping
- 4 oz cream cheese softened to room temperature
- 1/2 cup powdered sugar sifted
- 1/2 tsp vanilla extract
- 2 tbsp milk or heavy cream adjust for drizzle consistency
Instructions
- Preheat your oven to 350°F. Line your baking pan with parchment paper and lightly grease it with butter or non-stick spray.
- Melt the butter in a large bowl. Whisk in the granulated sugar and brown sugar until fully combined and smooth.
- Add the eggs one at a time, whisking after each addition. Stir in the vanilla extract and red food coloring until the batter turns a deep red.
- Add the white vinegar and buttermilk to the wet mixture. Stir gently to combine everything evenly.
- Sift the flour, cocoa powder, and salt together in a separate bowl to prevent lumps and ensure even mixing.
- Fold the dry ingredients into the wet ingredients using a rubber spatula. Mix until just combined — do not overmix.
- Pour the batter into the prepared pan. Spread it evenly with your spatula so the brownies bake uniformly.
- If adding a cream cheese swirl, drop spoonfuls of the cream cheese mixture on top of the batter. Use a toothpick to swirl it gently.
- Bake for 25 to 30 minutes. A toothpick inserted in the center should come out with a few moist crumbs, not wet batter.
- Remove the pan from the oven and let the brownies cool completely on a rack before slicing.
- Drizzle or spread the cream cheese topping over cooled brownies. Slice into squares and serve.
